


This guide applies to all device platforms
What is Blueprint Routing?
Blueprint Routing lets you assign devices to Blueprints dynamically during enrollment. Device and user information collected at enrollment is evaluated against your rules, and each device is routed to a Blueprint on a first-match basis. You don’t need to hand out Blueprint-specific enrollment codes or assign devices to Blueprints beforehand, for example with Apple Automated Device Enrollment (ADE).How It Works
Blueprint Routing uses blocks of Assignment Rules, similar to Assignment Maps. During enrollment, Iru evaluates initial device and user information against those rules and routes devices to the matching Blueprint. You get a single enrollment entry point across all platforms.Configuring Blueprint Routing
Navigate to Blueprint Routing
As an Iru tenant admin, go to Enrollment and click Blueprint Routing in the upper-right corner.
Set ADE Library Item (optional)
For Apple devices enrolling with ADE, optionally select a default ADE Library Item for Apple devices.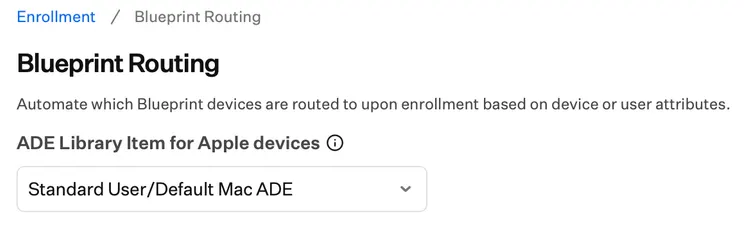
Configure rules and default Blueprint
Configure your rules in the if and if else rule blocks, and click + add else if to add additional rule blocks.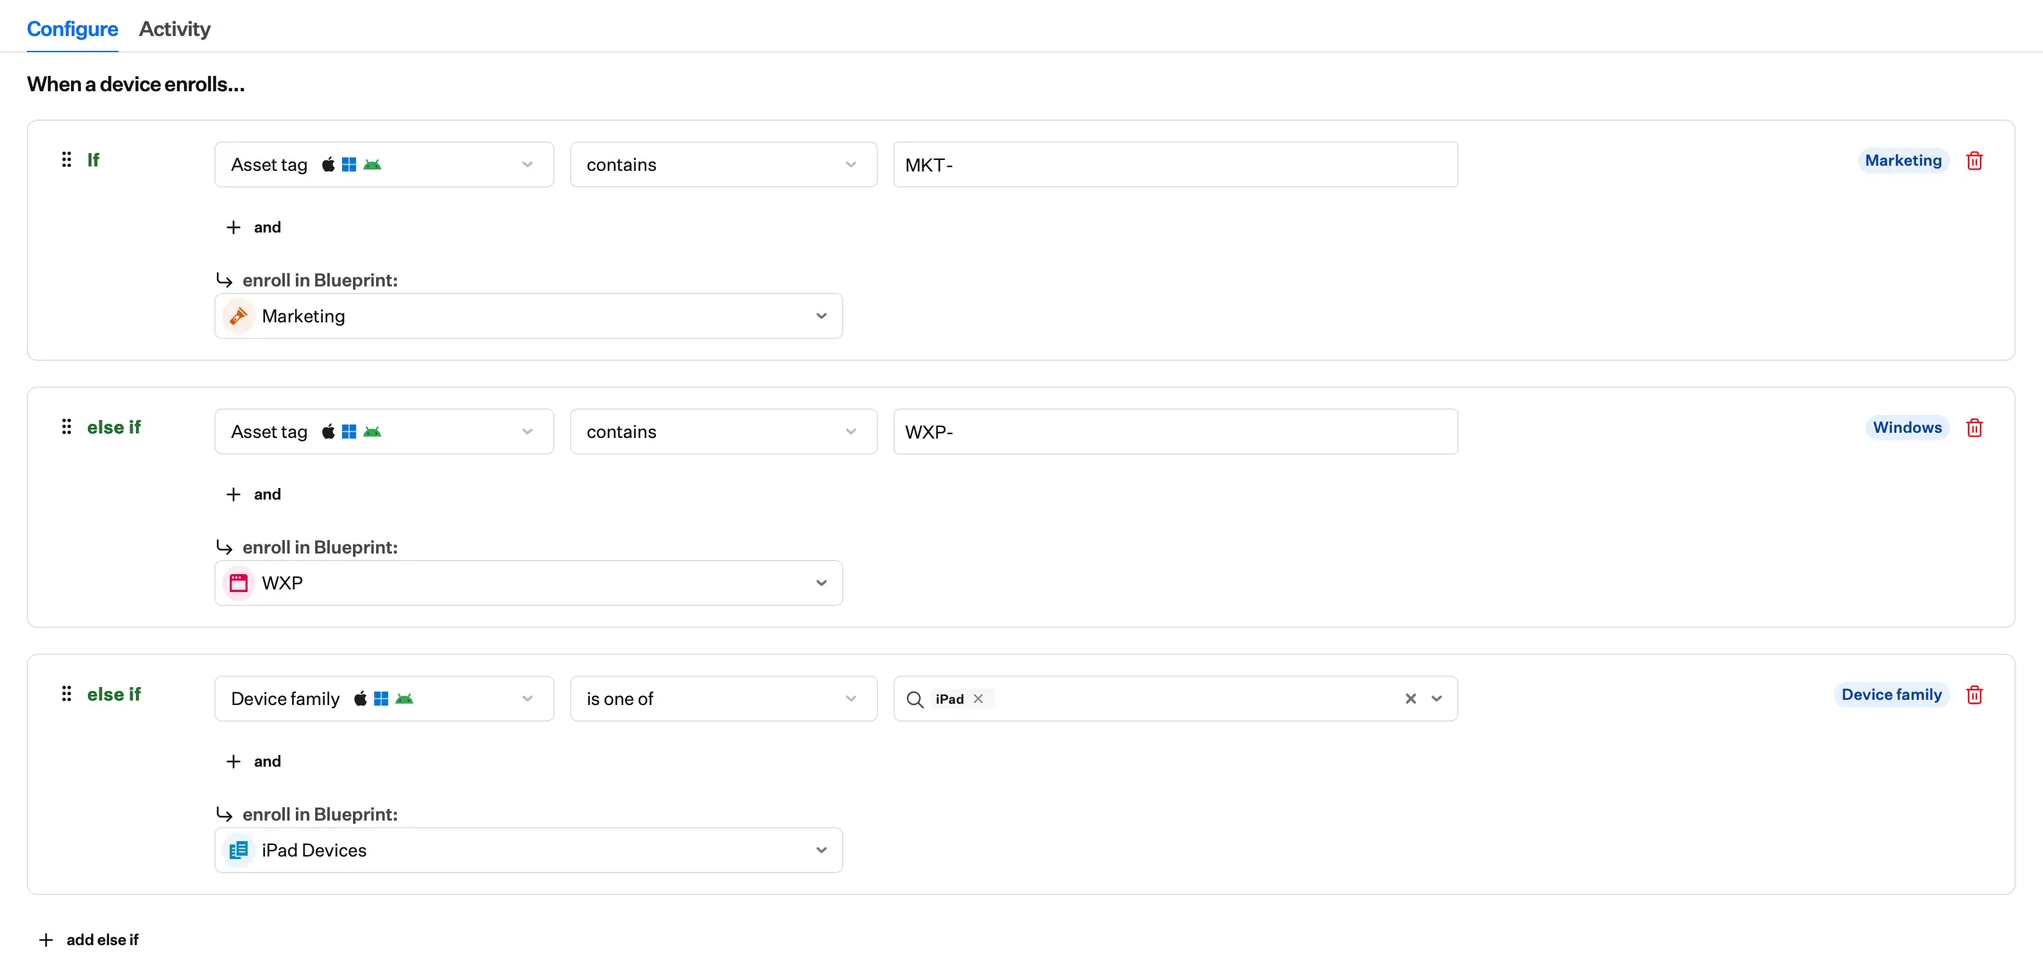
Set default Blueprint (Fallback)
Set a default Blueprint for when no rules match—called the Fallback route in the else block.
Reorder rules
To change the order in which rules are evaluated, drag rule blocks using the drag handle.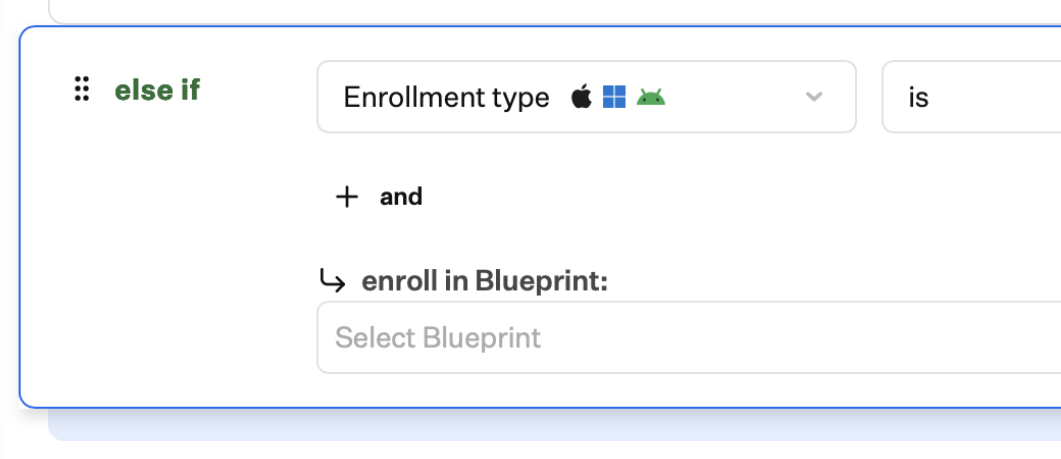
Add custom block labels (optional)
You can optionally add a custom label to each routing block. Labels appear in the upper-right corner of the block, in the Blueprint Routing configuration, and in Activity entries.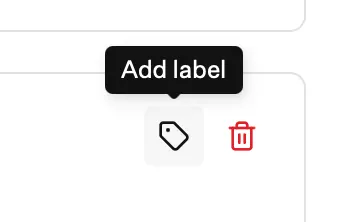
Example Blueprint Routing Configuration
One way to use Blueprint Routing is to send devices to different Blueprints based on who they’re for and what type they are. In the example below, the first rule assigns all devices whose asset tag contains “MKT-” to the Marketing Blueprint. The second matches on asset tag “WXP-”; those devices (Windows) are sent to the WXP Blueprint. The third sends all iPad devices to the iPad Devices Blueprint. The Fallback sends every other device to a Default Blueprint. Each rule block in this configuration has a label in the upper-right corner, next to the trash can icon, highlighted in blue. Labels make it easy for your team to see the purpose of each block.
Rule evaluation
Rules are evaluated from top to bottom; the first rule that matches determines the device’s destination Blueprint. Blueprint Routing supports the same rules as Assignment Maps, except for FileVault. This includes tags, which you can assign to ADE devices before enrollment and use in routing rules. See Tags for Devices for details. A rule unique to Blueprint Routing, ADE enrolled and token, applies only to Apple ADE enrolled devices and is useful when using the Iru Endpoint API for multiple tokens. See Configure Multiple Automated Device Enrollment Tokens.When rules are evaluated
Blueprint Routing rules are only evaluated during enrollment. For ongoing dynamic configuration management, see Using Conditional Logic in Blueprints. Blueprint Routing decides which Assignment Map a device should be assigned to, and conditional logic within an Assignment Map decides which Library Items the device should receive.Blueprint Routing Activity
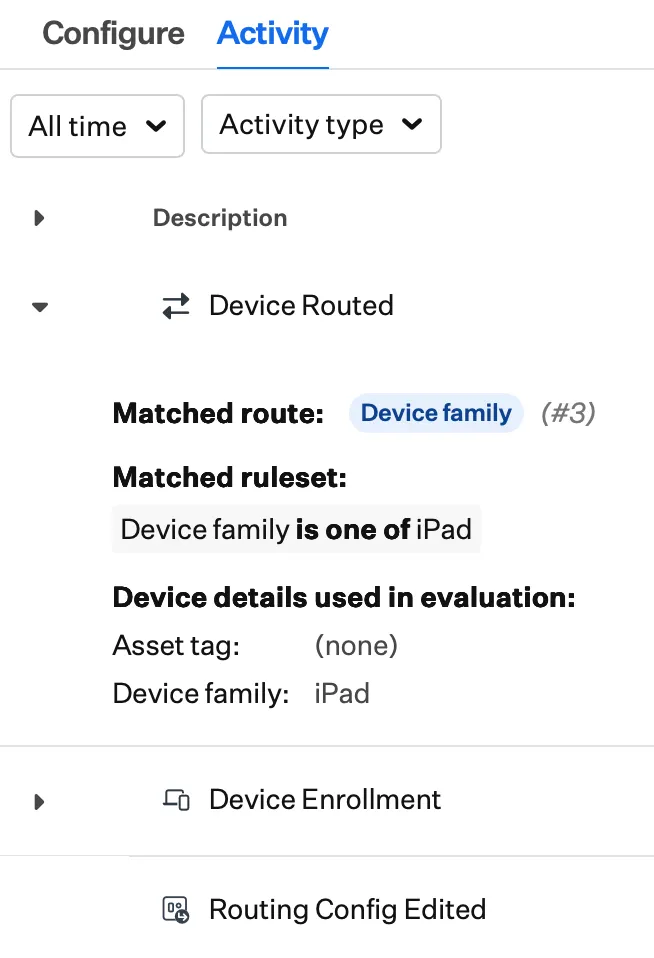
The Activity tab of Blueprint Routing shows all activity related to Blueprint Routing, including:- When the Blueprint Routing configuration is edited, who made the change, and when
- When devices enroll using Blueprint Routing
- Routing actions taken against devices enrolling through Blueprint Routing, including the ruleset that matched and the device information available to Iru at the time the routing decision was made
- Manual Enrollment changes for Blueprint Routing, including when it is turned off or on for Manual Enrollment, and/or if the enrollment code is changed
Enrolling with Blueprint Routing
Blueprint Routing is available for the following enrollment methods:Manual Enrollment with Blueprint Code and Android Work Profile
Blueprint Routing appears as a choice at the top of the list of Blueprints in the Enrollment > Manual Enrollment section. You can turn Blueprint Routing off or require authentication for it, just like you can with any other Blueprint.
Automated Device Enrollment
Assigning devices to Blueprint Routing
Blueprint Routing appears as a choice in the Blueprint selector to assign devices awaiting enrollment. For setting up ADE and syncing devices from Apple Business Manager, see Configure Automated Device Enrollment.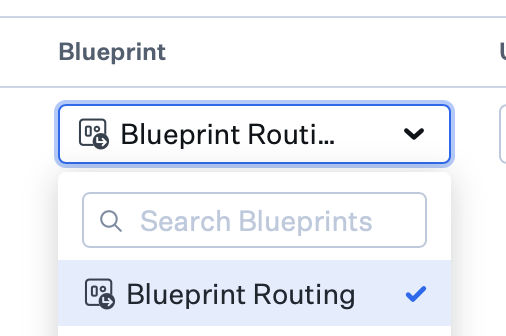
ADE Library Item Assignment
Optionally set or override the ADE Library Item for a device (or multiple devices) instead of using the one from Blueprint Routing.Navigate to Automated Device Enrollment
In Iru Endpoint, go to Enrollment → Automated Device Enrollment.
Filter and select devices
Filter by Awaiting Enrollment (or All) to view unenrolled devices, then select the device(s) whose ADE Library Item you want to set or override.
View the ADE Library Item Column
The ADE Library Item column shows the name of the ADE Library Item assigned to the Blueprint selected for enrollment or Blueprint Routing, or None if none is assigned.
Unlink from Blueprint
To override the assignment so you can choose a different ADE Library Item, click Unlink from Blueprint or Unlink from Blueprint Routing, whichever appears.
Re-link or select an ADE Library Item
Once unlinked, choose Re-link to Blueprint or Re-link to Blueprint Routing, or select an ADE Library Item from the list. You can do this for one device or for many via multi-select.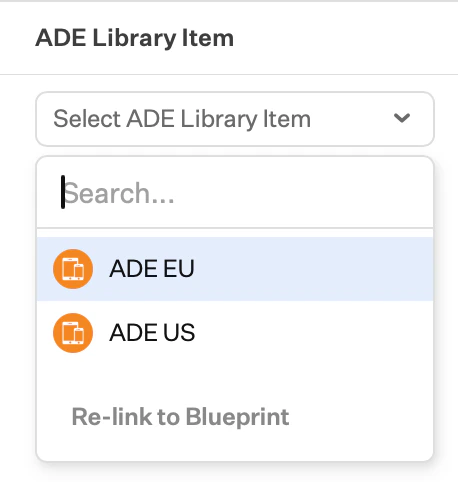
A direct assignment is sticky and will always apply to the device unless you manually re-link it to the Blueprint or Blueprint Routing. Re-linking can be done one device at a time or in bulk.
Tags for ADE devices
You can assign tags to ADE devices before they enroll; those tags carry over to the enrolled device and stay in sync. Tags can be used in Blueprint Routing rules to route devices to Blueprints during enrollment. See Tags for Devices for instructions.Considerations for Apple Automated Device Enrollment
Without Blueprint Routing
Automated Device Enrollment (ADE) settings are configured using the ADE Library Item assigned to specific Blueprints. ADE devices awaiting enrollment are also assigned to those Blueprints, so the path is: Devices → Blueprints → ADE Library Item(s).With Blueprint Routing
Rules are evaluated just in time during enrollment, so you don’t know the destination Blueprint until the device enrolls and device and user information is collected. To configure ADE settings for those devices, set the ADE Library Item to use in the Blueprint Routing config itself (see the optional step in Configuring Blueprint Routing).Assignment to Blueprint Routing persists across re-enrollments until the device’s awaiting enrollment record is set to a different Blueprint.
Enterprise API actions for Blueprint Routing
The following are supported for Blueprint Routing via the Enterprise API:- Changing the Manual Enrollment code
- Turning Manual Enrollment off or on
- Assigning Awaiting Enrollment devices to Blueprint Routing
- Viewing Blueprint Routing activity
Related articles
Tags for Devices
Organize and group devices using tags
Creating a Blueprint
Create a Blueprint with Assignment Maps
Using Conditional Logic in Blueprints
Use conditional logic in Assignment Maps
Configuring Blueprints
Create and configure device Blueprints for policy management
Configure Automated Device Enrollment
Set up Automated Device Enrollment for zero-touch deployment and lifecycle management of corporate Apple devices